how-to-read-motherboard-schematic
How to Read a Motherboard Schematic: A Step‑by‑Step Guide for Repair Technicians
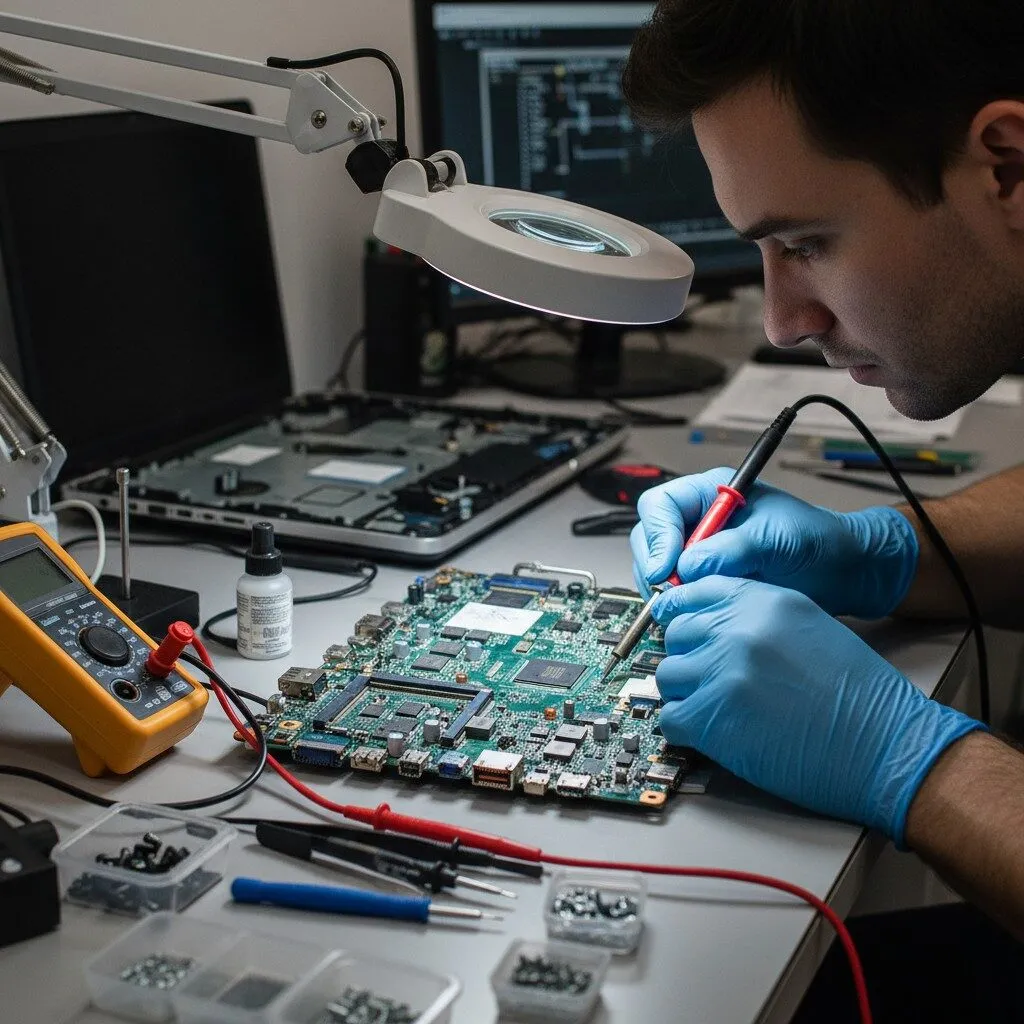
Reading a motherboard schematic is one of the most important skills for anyone involved in laptop or desktop motherboard repair. Without understanding schematics, troubleshooting becomes guesswork. With the right approach, however, schematics allow technicians to diagnose faults logically, safely, and efficiently.
This guide explains how to read a motherboard schematic step by step, using a model‑independent method that applies to DELL HP LENOVO ACER SAMSUNG TOSHIBA AND MORE and most modern laptop or desktop motherboards.
What Is the Purpose of a Motherboard Schematic?
A motherboard schematic is a functional representation of electronic circuits used on the board. It explains how power flows, how signals are generated, and how components interact with each other.
Schematics help technicians:
- Understand circuit logic
- Trace power and signal paths
- Identify missing or incorrect voltages
- Locate components related to a fault
Step 1: Understand the Schematic Structure
Most motherboard schematics are divided into sections or pages. Each page usually represents a functional block of the board, such as:
- Power input and charging circuit
- Always‑on power section (+3VALW / +5VALW)
- Embedded Controller (EC)
- BIOS circuit
- CPU, GPU, and RAM power stages
- I/O interfaces (USB, HDMI, LAN, audio)
Before measuring anything, take time to identify which section relates to your problem.
Step 2: Learn Common Symbols and Reference Designators
Schematics use standard symbols and labels. Some common examples include:
- R – Resistor
- C – Capacitor
- L / PL – Inductor / Coil
- Q / PQ – Transistor / MOSFET
- D / PD – Diode
- U / PU – Integrated Circuit (IC)
Understanding these designators allows you to quickly identify component types during diagnosis.
Step 3: Identify Power Rails First
Power rails are the foundation of every motherboard. Always start diagnosis by checking power.
Common rails include:
- Adapter or battery input voltage
- +19V main rail (laptops)
- +5VALW and +3VALW (always‑on power)
- CPU Vcore
- GPU Vcore
- Memory power rails
Using the schematic, follow how each rail is generated and where it is distributed.
Step 4: Follow Enable and Power‑Good Signals
Modern motherboards rely heavily on control signals. These signals decide whether a circuit turns on or stays off.
Important signal types:
- Enable (EN) signals
- Power‑good (PG) signals
- Reset signals
- Clock signals
If a voltage rail is missing, always check whether its enable signal is present according to the schematic.
Step 5: Understand the Power‑On Sequence
Every motherboard follows a specific startup sequence. The schematic helps you understand:
- Adapter or battery detection
- Always‑on power generation
- EC initialization
- BIOS communication
- Main power rail activation
- CPU and RAM initialization
If the sequence breaks at any point, the board may fail to power on.
Step 6: Trace a Signal or Voltage Path
Schematics allow you to trace a signal from its source to its destination.
For example:
- From charger IC to battery MOSFETs
- From EC to power controller enable pins
- From BIOS to chipset
This tracing process helps isolate faulty components.
Step 7: Combine Schematic with BoardView
A schematic shows how a circuit works, but not where components are physically located.
After identifying a component in the schematic:
- Note the reference designator (example: R215, PU3)
- Open the BoardView file
- Search for the same reference
- Locate the component on the motherboard
Using both tools together dramatically reduces repair time.
Common Mistakes Beginners Make
- Measuring random components without understanding the circuit
- Ignoring enable or power‑good signals
- Assuming a voltage rail should always be present
- Not checking schematic revisions
Avoiding these mistakes improves accuracy and safety.
Practical Example (Model‑Independent)
On DELL HP LENOVO ACER SAMSUNG TOSHIBA AND MORE, suppose the board shows no power. Using the schematic:
- Check adapter voltage path
- Verify +3VALW and +5VALW
- Confirm EC power and clock
- Check enable signals to main power rails
This structured approach applies to most motherboard designs.
Limitations of Schematics
While schematics are powerful tools, keep in mind:
- Not all schematics are complete
- Manufacturer revisions may differ
- Some components may be renamed or removed
Always confirm with real‑board measurements.
Final Thoughts
Learning how to read a motherboard schematic is a skill that improves with practice. By following a structured, step‑by‑step method, technicians can troubleshoot efficiently instead of relying on trial and error.
Whether you are working on DELL HP LENOVO ACER SAMSUNG TOSHIBA AND MORE or any other motherboard, schematic‑based diagnosis will significantly improve your repair success rate and confidence.
This article is part of our technical learning series on motherboard schematics and BoardView concepts.